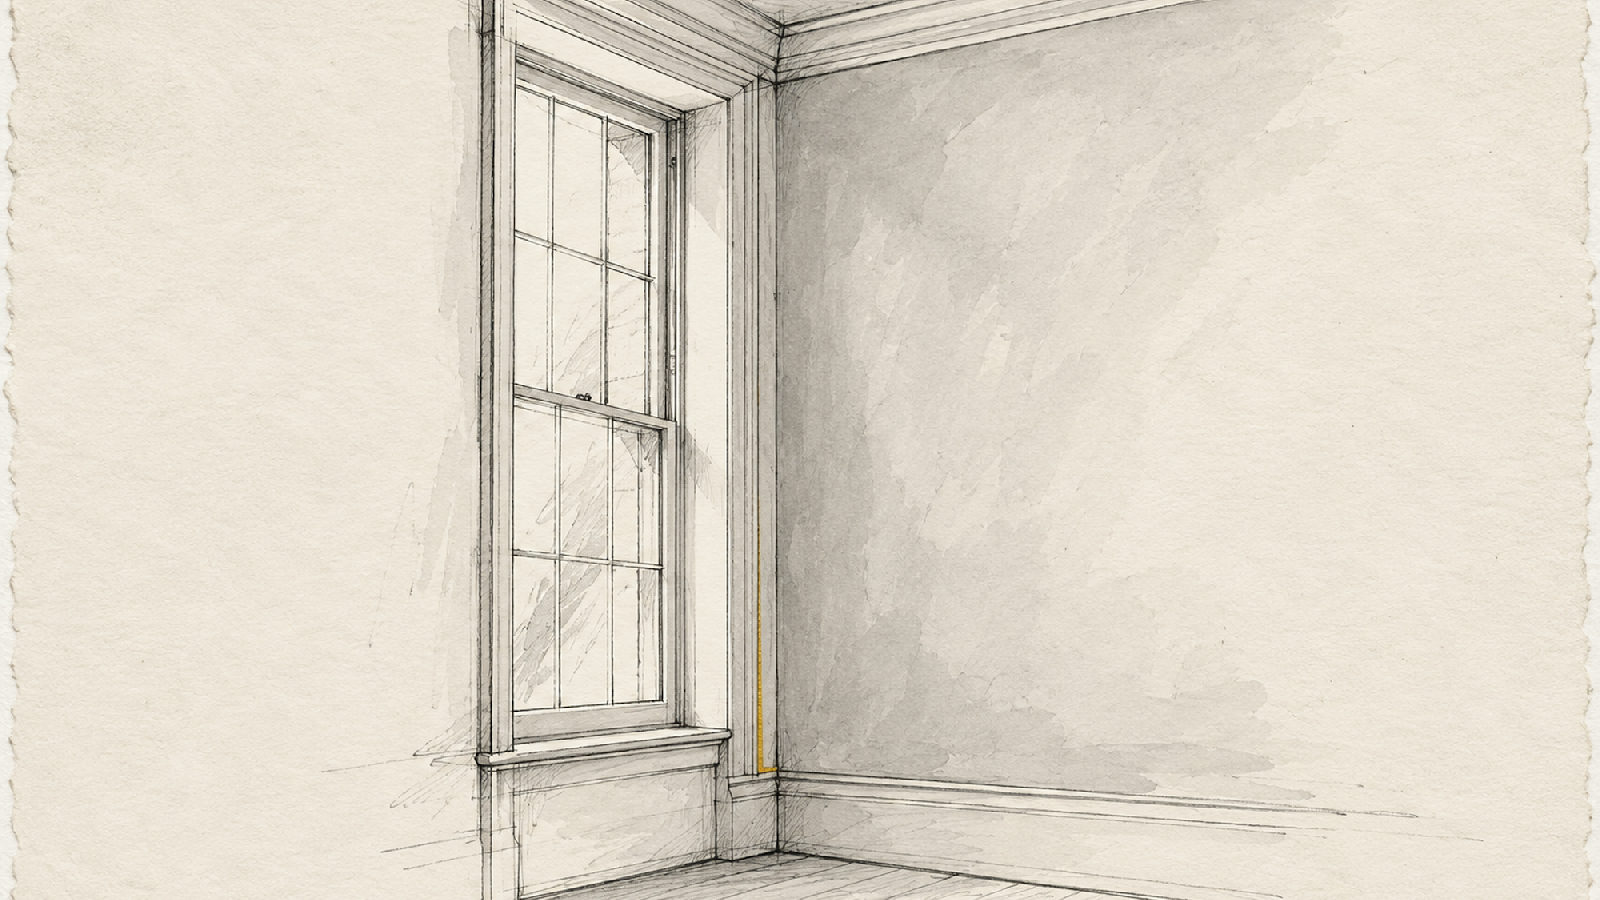
A premium finish should make a room feel more considered. In a historic Charleston interior, that does not necessarily mean more texture, more shine, or a stronger color. A fine plaster wall can make its statement through quiet depth and the way it meets an existing window casing.
The useful question after comparing plaster and drywall is where the finish belongs, and what you want it to contribute. Begin with the room as a whole: its openings, trim, daylight, furnishings, and surfaces worth keeping. Then choose a finish that supports those relationships.
Start with the wall you already have
Before specifying a new surface, establish what is present and what is sound. Traditional plaster may contain lime, gypsum, or combinations of materials. Appearance alone is not a reliable specification for a repair.
The National Park Service guidance on historic flat plaster favors retaining and repairing original plaster where feasible. Its slight contours and relationship to surrounding woodwork are part of the interior’s character. Covering everything with a new layer can flatten those relationships, even when the new finish is carefully applied.
Ask for an assessment that distinguishes stable surface wear from loose plaster, failing attachment, movement, and moisture damage. Those conditions require different responses. A decorative skim cannot correct the cause of a recurring crack or secure a detached ceiling.
The design brief can then be specific: retain this wall, repair that localized area, and introduce a new finish where the existing construction permits it. A statement does not require every wall to become a new surface.
Choose a complete system, not just a finish name
Plaster is a broad category. Historic plaster repair, gypsum veneer plaster, and decorative lime finishes are different scopes of work. A name on a sample does not establish compatibility with the wall beneath it.
For example, USG Diamond Veneer Finish is formulated for specified gypsum bases and compatible plaster basecoat assemblies. Its hard surface can resist abrasion, but that does not make it a universal coating for any existing wall. The substrate and preparation remain part of the specification.
Decorative finishes have their own requirements. Earthaus Stone, for instance, describes a prepared substrate, primer, and successive plaster coats, with a matte appearance that can be burnished to a slight sheen. That is a product-specific sequence, not a recipe to transfer automatically to another material.
For a proposed finish, ask the installer to identify:
- The existing or new substrate receiving the finish.
- The preparation, primer, basecoat, and joint treatment required by that system.
- The intended texture, sheen, and protective treatment, if any.
- The method for future cleaning and localized repair.
Keep those decisions together. Substituting a primer or changing the base after approving the sample can change the result you thought you selected.
Give drywall a fair comparison
A carefully specified drywall finish can provide a calm background for historic trim and furnishings. Compare completed assemblies with comparable expectations, rather than comparing a refined plaster sample to an unspecified drywall allowance.
The Gypsum Association’s GA-214 guidance identifies Level 5 for conditions including strong side lighting, dark colors, and glossy finishes. It includes a skim coat across the whole surface in addition to the prescribed joint and fastener treatment. This helps reduce visible differences through the final decoration; it does not promise a perfectly flat wall under every light.
Ask for the finish level, paint system, and representative mockup to be agreed together. A tall window throwing daylight across a broad wall deserves attention early. Changing to a darker or shinier paint late in the work may change how the same surface reads.
Choose plaster when its particular surface quality serves the room. Choose drywall where its finished appearance and assembly suit the work. Neither choice excuses vague expectations.
Make the statement at the scale of the room
Choose one main visual ambition before discussing technique. Perhaps the room needs a warm, quiet background for dark furniture. Perhaps a broad chimney breast should catch the light. Perhaps the existing woodwork already provides enough ornament, and the walls should let it lead.
Write that ambition in a sentence. It will be more useful during sample review than a collection of unrelated finish photographs.
For a restrained historic interior, consider these design directions:
- A subtle tonal range across a complete room, with little contrast between individual trowel passes.
- A single, clearly bounded surface that carries more depth while adjoining walls remain quiet.
- A smooth finish whose interest comes from light and touch rather than obvious texture.
Treat these as alternatives to test, not a formula for every Charleston house. Avoid adding artificial age simply because the building is old. A new finish can be honest about being new while respecting the room around it.
Review samples where you will live with them
Small samples help narrow a palette. Before committing to a whole room, request a larger representative sample made with the proposed materials and technique. Include the intended final treatment so you are judging the finished appearance.
View it upright beside the actual trim and flooring. Look from the doorway, from a seated position, and close enough to understand the surface. Check it with daylight and the lamps you intend to use. A finish selected beneath a workshop light may feel quite different beside a tall sash window.
Discuss the range of variation you like. Is a visible trowel sweep part of the design, or does it distract from the room? Should the surface stay quiet at a distance? Is a slight sheen welcome on one wall but too active across the ceiling?
Keep the approved sample available during the work. Record the chosen color, product system, and finish approach. That gives owner and installer a shared reference when decisions arise.
Protect the details and define resilience
Check finish thickness at casings, baseboards, and other junctions before work begins. Historic trim should retain its intended projection and reveal; a new wall layer should not casually bury its edges. Resolve moisture sources before treating staining as a finish problem.
For a Charleston or Lowcountry project, ask how the work will be protected during the sequence of repairs and finishing. Decide when lighting, trim work, and other trades will be complete enough to avoid repeated disturbance of the finished walls.
Use flexible to describe the design choices available, rather than a promise that plaster will stretch with building movement. Define resilient in practical terms: suitability for the location, an understood care routine, and a credible repair plan. Ask to see how a representative touch-up looks before assuming it will disappear.
When to call a specialist
Call a plaster specialist when existing material is loose, cracks recur, dampness persists, or a new finish must meet retained historic work. Bring photographs, the desired surface character, and questions about the underlying assembly. For help evaluating the options, explore our veneer plaster and specialty finishes service. The first decision should be what the wall needs; the final finish can follow from that assessment.